DIY live edge slab side table with epoxy
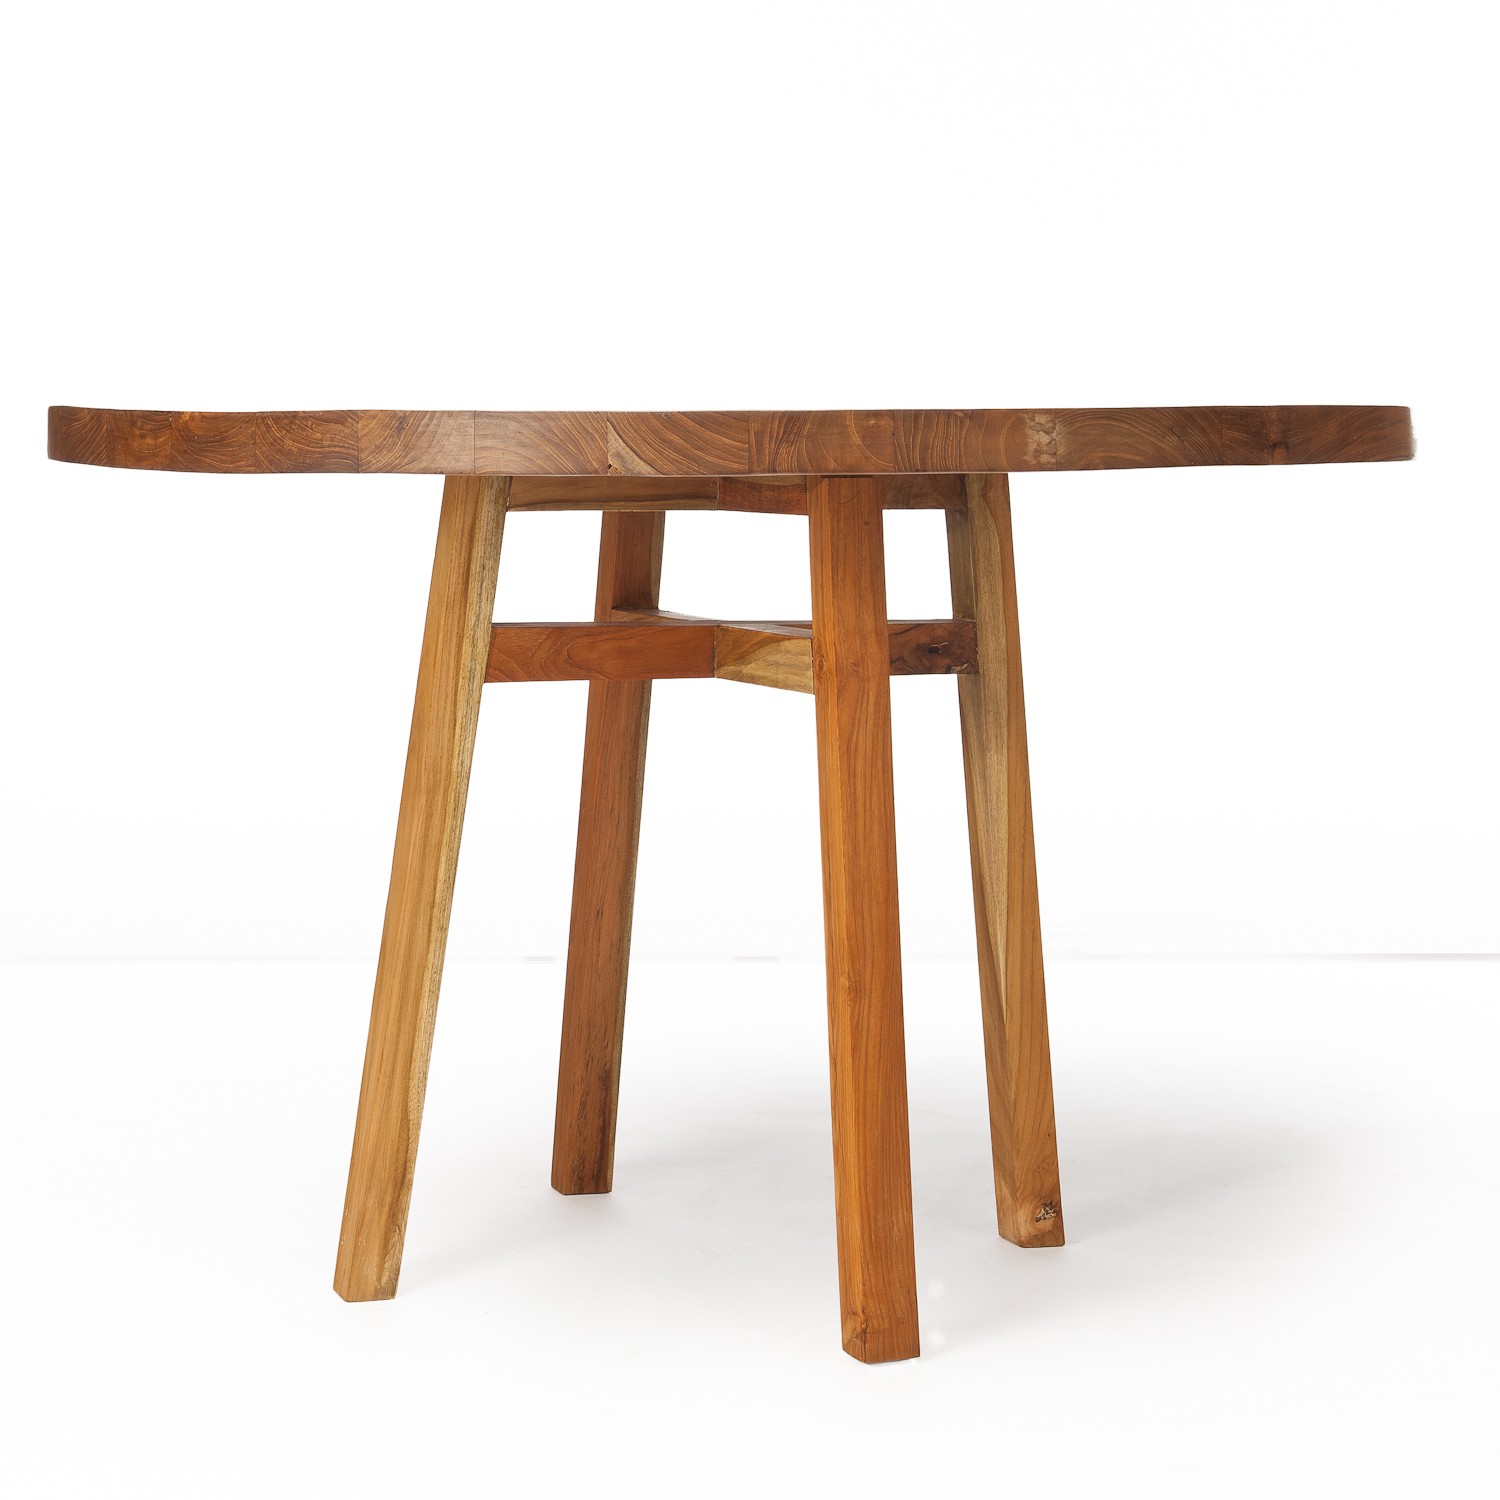
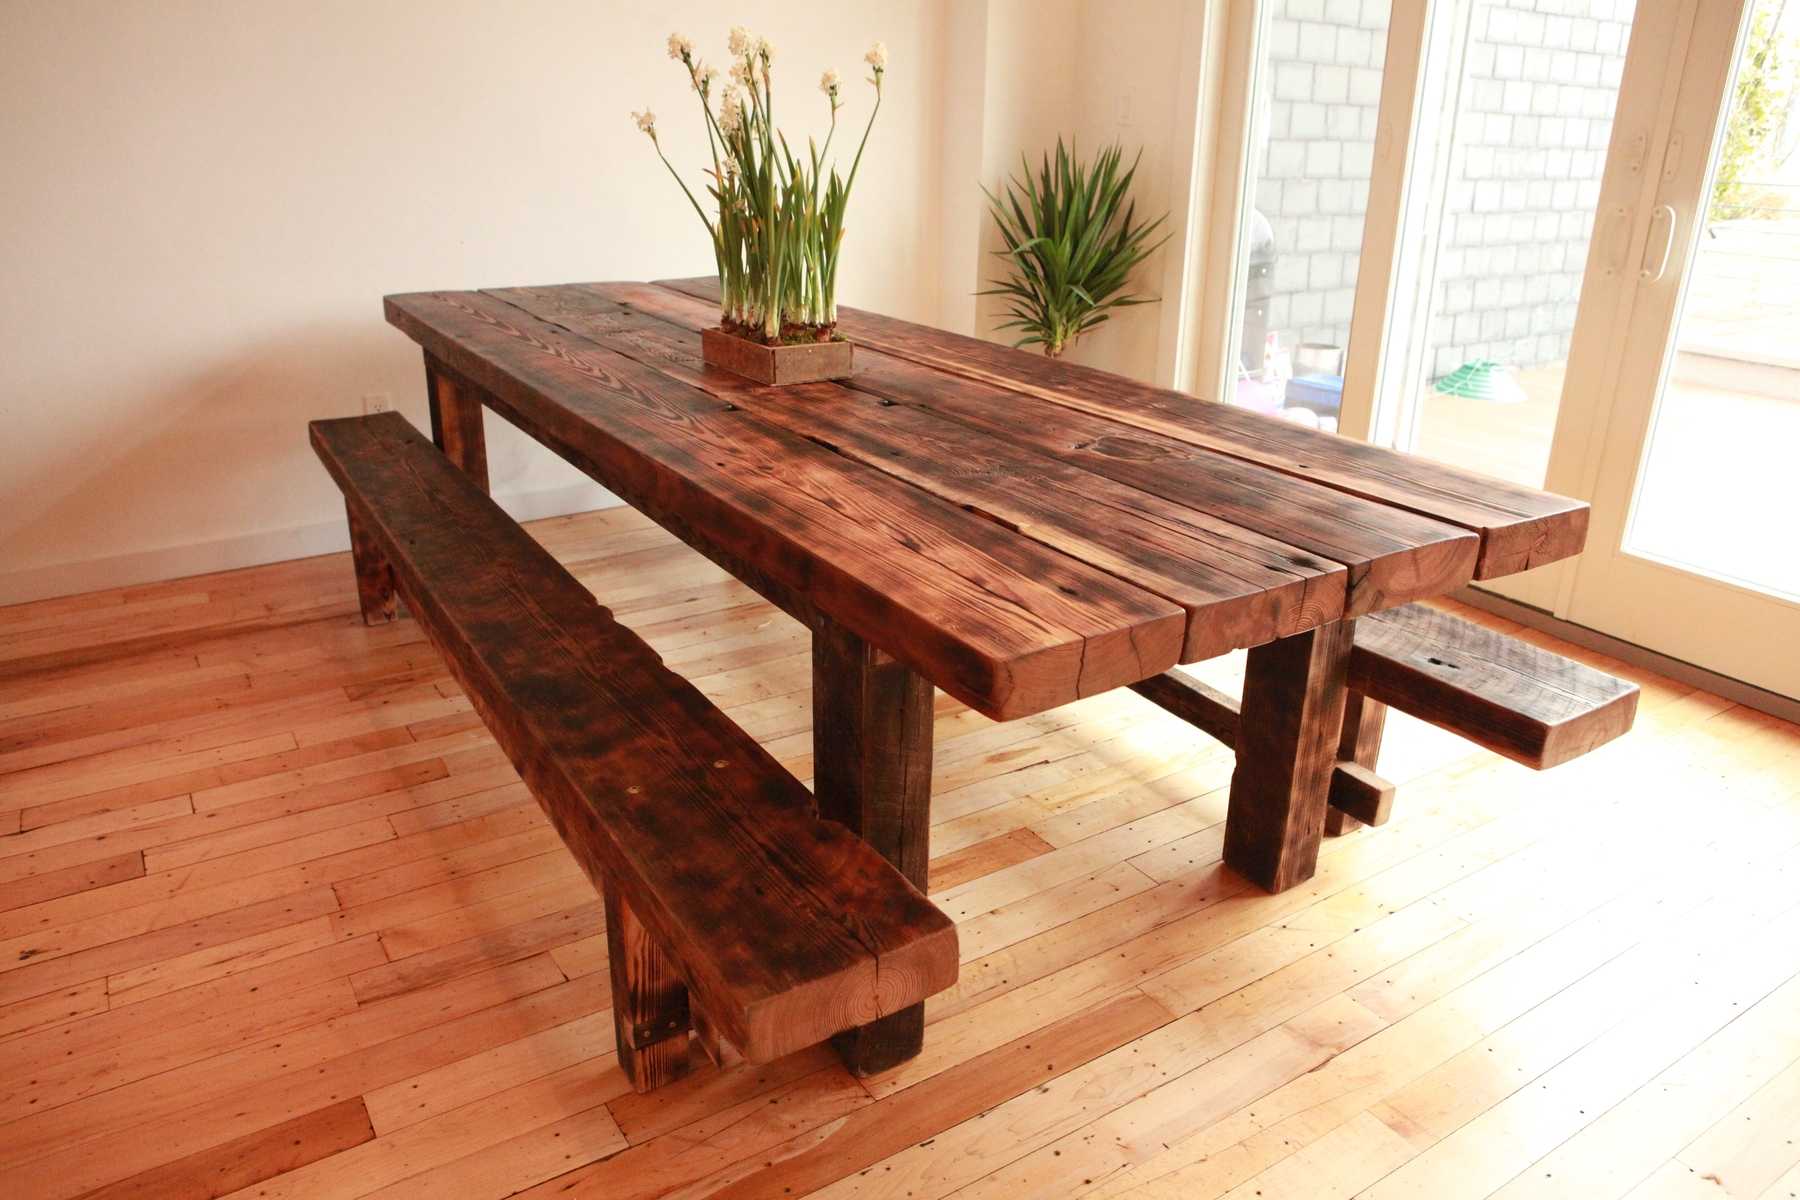
A live edge slab side table keeps the irregular outline of the timber, while epoxy resin fills gaps and can unify pale sapwood into a smooth, durable surface. The result combines a sculptural natural edge with the clean lines of a made piece.
This project suits Australian homes where one statement piece can work hard: a narrow perch beside a sofa, a display surface in a sunny apartment, or a compact companion to a terrace chair. Sydney and Melbourne terraces often reward slim proportions, while a Brisbane or Perth verandah calls for weather-aware finishes.
You can build the top from a purchased slab or suitable offcut, then secure it to a simple base. Planning the timber, resin and dimensions first makes the pour calmer and helps avoid an oversized or unstable result.
Plan the slab around your room
Start with the room and the timber rather than the resin. Spotted gum from New South Wales and jarrah from Western Australia offer distinctive grain and live edges, but weight, availability and your slab’s dimensions decide whether it belongs beside your sofa. Smaller urban spaces benefit from a top under about 500 millimetres across.
Australian timber suppliers and chains such as Bunnings or Mitre 10 provide choices ranging from prepared slabs to offcuts, so compare what is locally available before planning a trip. A useful reminder about reading terms before spending money comes from this guide to bonus cancellation rules; apply the same discipline to resin and check coverage rates, cure times and supplier returns before mixing.
Prepare the edge and build the base
Mark the top, leave a service margin around the live edge, and sand only the areas that need flattening. Remove loose bark with a scraper and brush, clean away dust, and seal porous wood according to the resin instructions. Mask the underside so drips cannot travel into the base.
For the base, bolt a steel frame to the slab with timber inserts or threaded inserts, or use broad wooden legs arranged to prevent rocking. A lower shelf adds storage without turning the design into a bulky cabinet. Check your hardware supplier’s load ratings and make every fixing accessible for future tightening.
Compare resin finishes and pour
Compare the common finishes against the grain and your room:
| Finish | Strength | Limitation | Appearance |
|---|---|---|---|
| Clear epoxy | Preserves grain and contrast | Can amber with UV exposure | Deep, glassy |
| Tinted epoxy | Blends pale sapwood with darker wood | Thorough mixing is essential | Unified colour |
| Metallic pigment | Adds a restrained highlight | Less suitable for a timeless scheme | Soft shimmer |
| Matte topcoat | Reduces the high-gloss look | Needs careful preparation | Satin finish |
Measure and mix exactly as the manufacturer directs, then pour in thin, controlled layers rather than one deep flood. A silicone mat beneath a horizontal slab catches overflow, while a brush or spreader moves resin into edge voids. Release bubbles with a clean brush or manufacturer-approved tool, and keep the work area ventilated.
Let each layer cure fully, inspect the surface, and apply further coats only if the instructions permit. Wear gloves and eye protection, follow the resin’s safety data sheet, and observe your state’s work health and safety duties. Curing exotherm and airborne vapours deserve more attention than a quick online tutorial suggests.
Finish and position the piece
After the resin cures, sand the high spots with progressively finer abrasives, then finish with a non-marring pad if you prefer a softer sheen. Clean the surface before placing it on the base. Tighten every fixing and test stability by loading the centre of the top, not just its edge.
Position it against solid upholstery rather than directly against a wall, leaving space for the irregular outline to read. In bright Australian rooms, choose UV-stable resin and a protective finish, and use coasters for hot drinks. Felt pads under the legs protect timber floors and make repositioning easier.
Style the table and plan its upkeep
Style the piece with a lamp, a small vase or one textured object rather than a crowded arrangement. A slim side table beside a sofa can provide a landing spot for a cup and a book, useful during everyday lounge habits without competing with the main coffee table.
If your real need is concealed storage, built-in drawer storage can be a more practical alternative in a compact living room, while the live edge version works best as a display and occasional serving surface.
For upkeep, wipe with a soft damp cloth and avoid solvents or abrasive pads. Let hot cookware cool before placing it on the surface, and check for scratches or moisture around the edge. If you make these tables to sell, accurate labelling and appropriate product-safety information help meet Australian Consumer Law requirements.