Build a folding pedestal table for camping or tailgating
A folding pedestal table turns a tailgate or campground into a proper serving station without giving up much boot space. The best version folds down quickly, stands firmly on uneven ground and survives a day of heat, spills and travel.
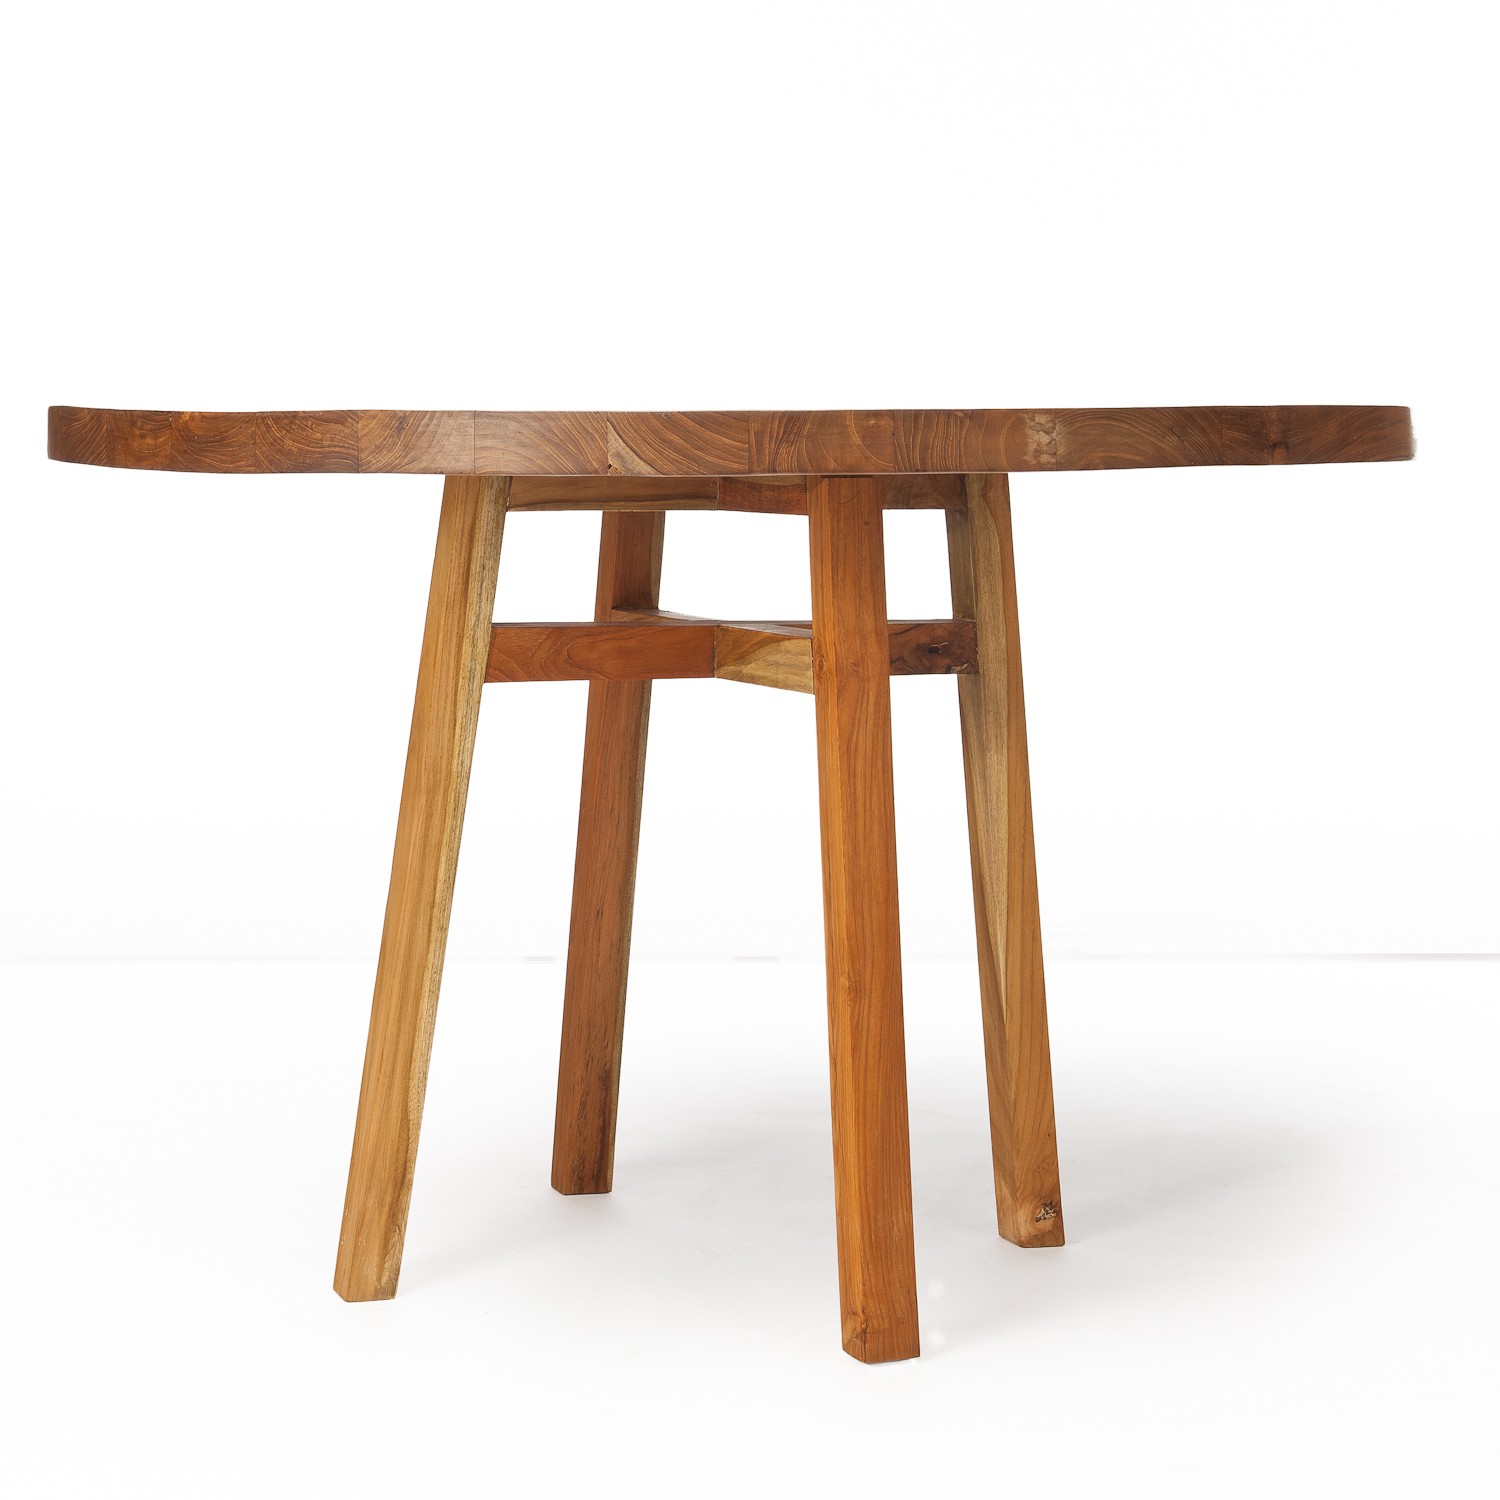
Start with a removable round top and a three-legged pedestal rather than a bulky dining-style base. That combination is easier to carry, repair and secure than a wide table with four separate legs.
Work out the packed size before cutting anything, especially if it will travel in a hatchback to a campsite near Byron Bay or sit beside a barbecue at a cricket club. Australian conditions shape the build: metric measurements are standard, the sun is fierce and campgrounds can be damp underfoot.
Plan the size and fold-down shape
Set a finished height of about 720mm and make the top roughly 600mm in diameter. That provides enough room for plates, drinks and condiments while remaining manageable for one person to lift. A smaller top works well as a drinks station, but it becomes cramped when several people serve themselves.
Draw the pedestal at full size before cutting timber. A removable top supported by a central post is the simplest option: the post stays upright while three hinged legs fold upward beside it. Mark the folding direction, the locking-pin positions and the clearance between each folded leg and the post.
Choose lightweight, weather-ready materials
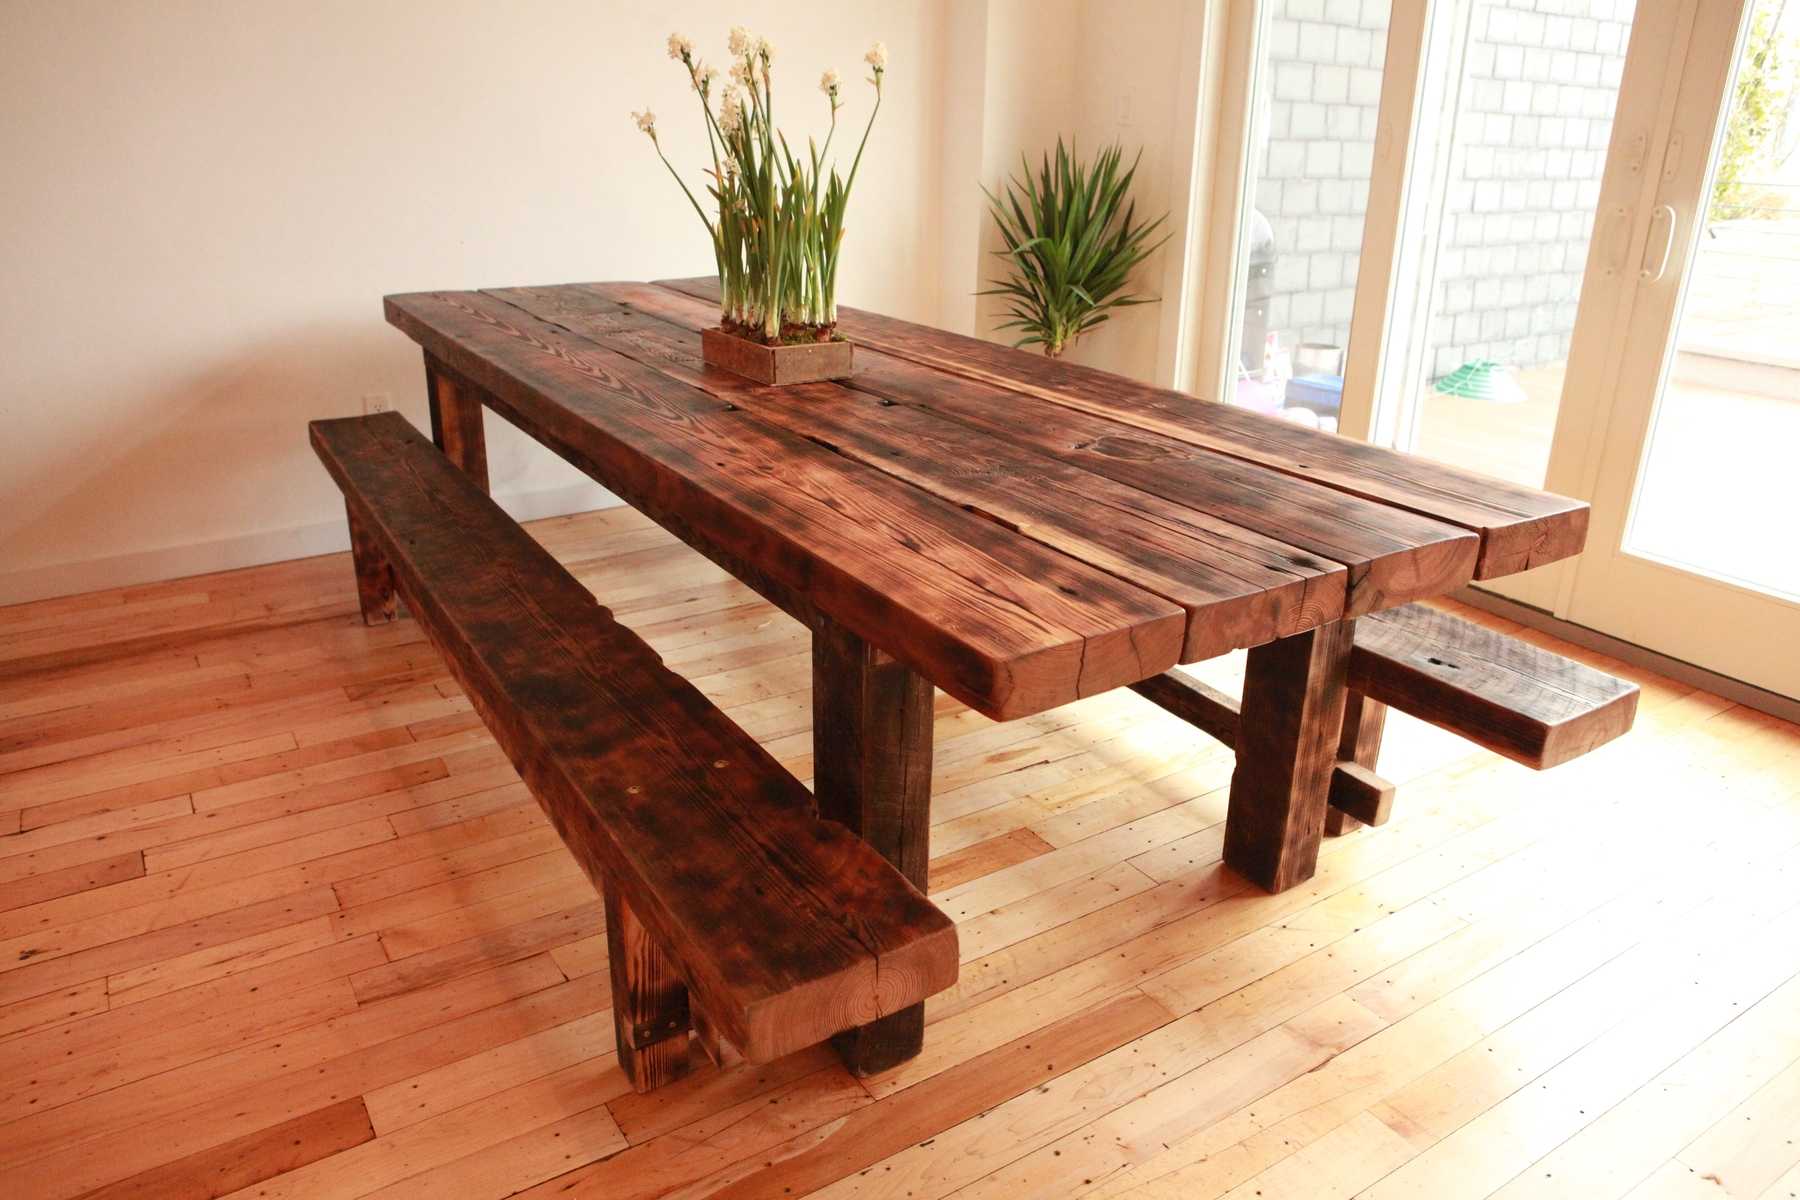
Lightweight exterior-grade plywood suits the top because it is easy to shape and lighter than solid timber. Seal every face and edge with exterior varnish, paying particular attention to the cut perimeter. If you prefer a rustic timber top, the examples of live-edge dining tables show how natural edges can add character without requiring decorative joinery.
Use hardwood for the post and legs, or quality pine for a lighter budget build. Bunnings and Mitre 10 stock common timber sizes and hardware, while specialist timber yards offer spotted gum or jarrah for a more durable finish. Choose galvanised or stainless bolts, washers and locking pins that will resist corrosion near the coast.
Compare the base options
The base is the heart of the build. Cut three hardwood arms, each around 420mm long, and hinge their upper ends to a sturdy collar around the central post. Drill aligned holes through the post and each arm so a locking pin holds the open position. The pin must engage fully; a loose hinge or friction-only joint can collapse under a loaded top.
Compare the layouts by pack-down size, ground stability and setup speed:
| Base option | Pack-down size | Main strength | Main limitation |
|---|---|---|---|
| Folding tripod | Tall but narrow | Quick to assemble | Can rock on very uneven ground |
| Crossed frame | Wide when open | Excellent stability | Heavier and bulkier |
| Two-piece pedestal | Compact in two sections | Simple construction | Requires separate pieces |
For this project, the folding tripod offers the best balance. Its three points make it suitable for grass or gravel, while the arms can be adjusted to compensate for small changes in level. Fit adjustable feet or nylon pads underneath to prevent sinking into soft soil.
Attach the top and add useful storage
Screw a circular hardwood plate to the top of the post, then fasten the removable top with bolts, washers and wing nuts. Apply removable thread-locking compound to the bolts so they remain secure during use but can still be taken off for transport. Leave a small gap around the hardware so rainwater cannot sit directly against the timber.
Small essentials need a protected home. For a clever way to carry cables, a bottle opener and folded napkins, adapt the concealed-storage principle shown in these changing table storage ideas and fit a shallow removable tray beneath the top. Keep the tray light, and avoid creating a snag point around people’s legs.
Style it for Australian outings
For an arvo cricket match, an AFL tailgate or a weekend barbecue, the surface can be dressed with a washable cloth, a timber serving board and a small tray for condiments. Round tops also suit the layered styling demonstrated in coffee table styling ideas, where a simple base is softened with a few useful accessories.
Avoid placing a hot pan directly on the timber unless the finish can handle it. Use a heatproof mat, secure loose decorations against the wind and position the pedestal away from the barbecue’s smoke. At the beach, bring a bag for sand and dry the surface thoroughly before closing it for the trip home.
Pack, test and maintain
Test the completed build at normal height with a sensible load. Open and fold the legs several times, checking that every locking pin passes through its holes and that no joint moves under pressure. Cover sharp bolt ends, inspect the folding area for pinch points and confirm that the detached top sits securely when carried.
After each outing, wipe away salt, dust and food residue, then let the timber dry in shade. Tighten loose hardware and renew the exterior varnish when water stops beading on the surface. Store the pieces in a breathable canvas bag rather than a sealed plastic one, and follow Leave No Trace principles at campgrounds. Properly made, the compact pedestal becomes a durable piece of outdoor furniture that suits both the tailgate and the tent.